
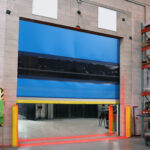
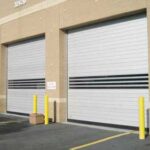
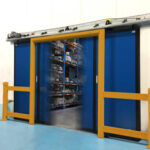
- High-Performance Doors
-
- Applications
-
-
-
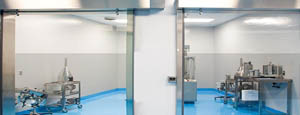
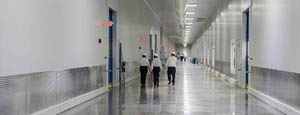
- Clean Room
Stainless steel or composite materials help maintain clean rooms.
-
-
- Coolers
Quick opening speeds & tight seals for temperature control.
-
-
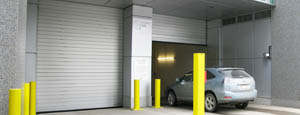
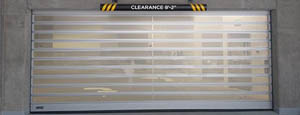
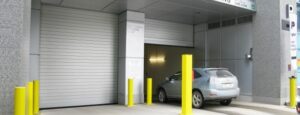
- Parking
Improve security & traffic flow and enhance architectural style.
-
-
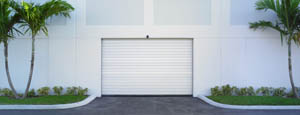
- Hurricane Zone
Withstand winds up to 175 mph and comply with the Florida Building Code.
-
-
-
-
- USDA / FDA / cGMP
Increase productivity & address stringent USDA, FDA & cGMP requirements.
-
-
- Freezers
High-speed & perimeter seals minimize the air exchange between areas.
-
-
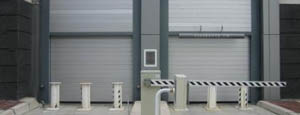
- Security
High speed & durability ensure secure access.
-
-
- Ventilation
Perforated or screen door panels allow improved air circulation.
-
-
-
-
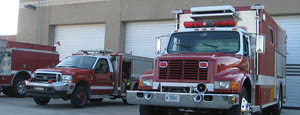
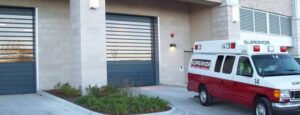
- Fire Station Emergency Response
When time is of the essence, high speed and reliability are crucial.
-
-
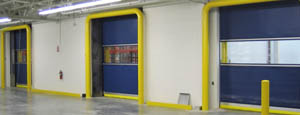
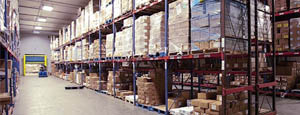
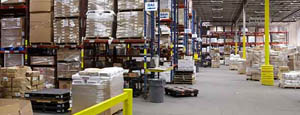
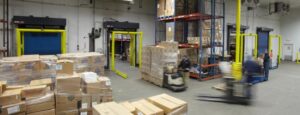
- Warehousing
Fast cycle times and secure seals keep environments separated.
-
-
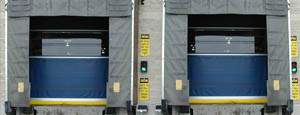
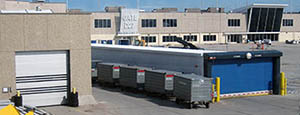
- Loading Dock
Rugged design & secure seal for oversized openings.
-
-
- Large Openings
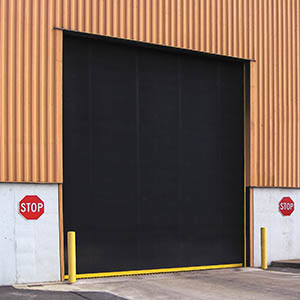
Break-away functionality with rugged design seals oversized openings.
-
-
-
-
- Heavy Equipment
Withstands challenges of heavy equipment and fleet truck/car wash environments.
-
-
- Self-Storage
Fast opening speeds and reliable, durable construction keep facilities secure and protected.
-
-
- Industries
-
-
-
- Automotive Dealerships
Reduce energy costs, increase productivity and comfort and enhance customer perception.
-
-
- Cold Storage & Processing
Increase productivity and operational efficiency while reducing energy and maintenance costs.
-
-
- Parking
We offer solutions for Apartment / Condo & Loft, Standalone Parking Facilities and Office Buildings
-
-
-
-
- Food & Beverage
Doors specifically engineered for USDA/FDA and cGMP environments, and assured compliance for uncompromising performance.
-
-
- Mfg/Dist/Warehousing
A complete product line allows facilities to increase efficiency and safety and reduce maintenance and energy costs.
-
-
- Government
Ensure effective security and environmental controls are maintained for critical government operations.
-
-
-
-
- Transit
Keep operations running smoothly and efficient while reducing energy and maintenance costs.
-
-
- Pharma, Nutraceutical & Biotech
Doors that offer quick, secure access, environmental control and reliability for life science facilities.
-
-
- Support Resources
- Parts
- Contact Us
- Blog/News
- Why Rytec
- Sales Rep Locator
- Careers
- Dealers
- Architectural Resources

How to Program a Remote Garage Door Opener?
A remote garage door opener looks simple: press a button, and the door moves. Programming it correctly takes more care. Your remote must match the opener’s radio system, and the “Learn” button may erase existing paired remotes if used incorrectly. Small details matter.
Parks Associates’ consumer research on smart-home adoption shows why connected access is increasingly relevant to homeowners. Yet convenience should not replace safety. The U.S. Consumer Product Safety Commission advises testing garage-door reversing systems and keeping people clear of a moving door. These reminders matter during setup, too. Keep children and pets away, and never test a remote while someone is beneath the door.
This guide explains how to program a remote garage door opener using the opener’s controls and the remote’s instructions. It covers common steps, rolling-code systems, and what to check when pairing fails. Exact procedures vary by brand and model, so the manufacturer’s manual remains the authority. A blinking light can signal successful pairing, but it is not proof that the door works safely. Test the door from a clear position, then verify its reversal feature. And be patient. Some manuals leave out a useful detail or two.
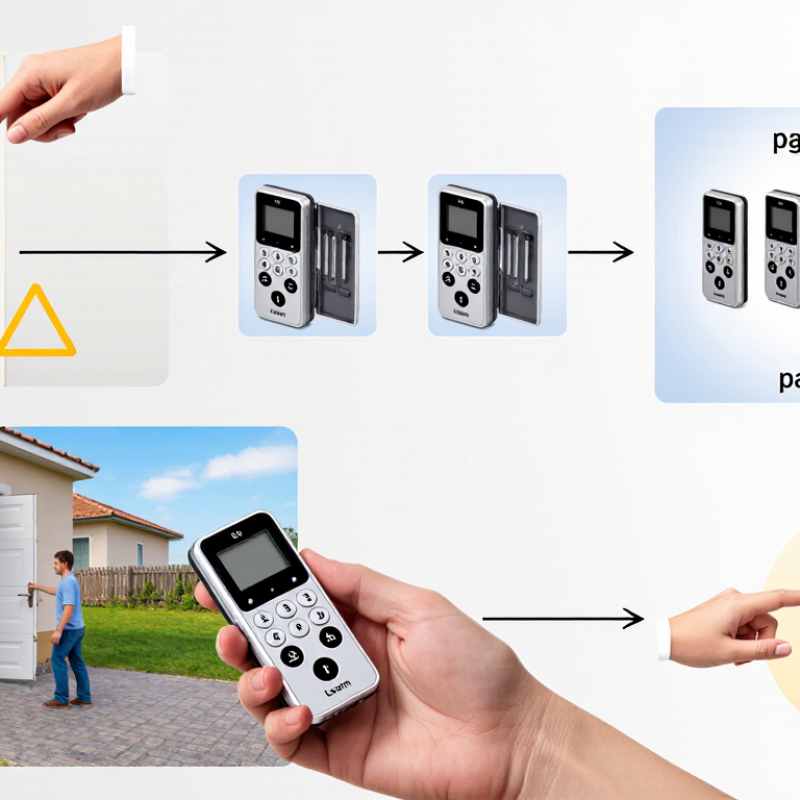
Table of Contents
[Hide]
Understanding Remote Garage Door Opener Compatibility
How to Program a Remote Garage Door Opener?
Understanding Remote Garage Door Opener Compatibility
A remote can look right and still fail to operate your garage door. Compatibility depends on the opener’s receiver, the remote’s radio frequency, and its coding method. Check the opener’s manual or model label before buying or programming a replacement. A frequency match alone is not enough. Some systems use changing codes, while older systems may use fixed settings. These methods are not always interchangeable.
Look for a learn button or configuration switches on the opener, but consult its instructions before changing anything. The button’s color or location can offer clues, though it is not a reliable compatibility test by itself. Small details matter. If the opener has an external receiver, check that receiver’s specifications too; it may determine which remotes work. I used to think a universal remote would solve every mismatch. It won’t. Some models support only specific coding systems, and product descriptions can be unclear. When details conflict, confirm the opener and receiver model numbers with a qualified supplier. Keep people clear of the moving door during setup, and test the safety reversal system afterward. A remote should make access easier, not compromise safe operation.
How to Program a Remote Garage Door Opener? - Understanding Remote Garage Door Opener Compatibility
| Compatibility Factor | What to Check | Why It Matters | Practical Guidance |
|---|---|---|---|
| Radio frequency | Compare the frequency printed on the remote with the frequency specified for the garage-door opener receiver. | A remote transmitting on a different frequency generally cannot communicate with the receiver. | Common systems use frequencies in ranges such as 300–390 MHz or around 433.92 MHz, but availability varies by model and country. Do not identify compatibility by frequency alone. |
| Radio coding system | Determine whether the system uses fixed-code or rolling-code transmission. | Rolling-code systems change the transmitted code to improve security; a remote intended for a different coding system may not pair. | Check the opener and remote manuals for the supported coding protocol. A matching frequency does not guarantee that the codes are compatible. |
| Receiver support | Confirm that the opener’s built-in receiver supports the remote’s frequency and coding protocol. | The receiver, rather than the remote alone, determines which transmitters it can learn. | If the receiver does not support the remote, use a compatible receiver or remote specified for that opener. Consult a qualified installer when wiring or replacing a receiver. |
| Learn or program button | Locate the opener’s learn/program button and follow the instructions for the exact model. | Many openers enter pairing mode through this button, but the procedure and timing differ. | Button color is not a universal compatibility standard. Use the model’s manual rather than relying on color or a generic programming sequence. |
| Remote capacity | Check how many remotes or transmitters the receiver can store and whether unused entries can be cleared. | A full receiver memory may prevent a new remote from being added. | Follow the manual’s memory-management instructions. Clearing memory may remove every paired remote, requiring them to be programmed again. |
| Region and radio regulations | Verify that the remote is intended for the opener’s region and complies with local radio requirements. | Frequency allocations and permitted transmitters can differ between countries. | Use documentation for the country where the opener is installed; a transmitter sold for another region may not be suitable. |
| Safe programming conditions | Keep the doorway clear and ensure the door is visible while testing. | Programming or testing an opener can move the door unexpectedly. | Keep people and objects away from the door, never stand beneath it, and test the safety reversal system according to the opener’s instructions. |
Before programming: Record the opener’s model and receiver details, then confirm compatibility in the manuals for both devices. Frequency, appearance, or button color alone is not enough to establish compatibility.
Related Posts
-
7 Tips for Choosing the Right Garage Door Remote?
-
Unlocking Convenience: How the Garage Door Remote Transformed Home Security Systems in 2023
-
7 Tips for Choosing a Garage Door Remote Control
-
How to Choose the Best Remote Garage Door Opener for Your Home
-

Why Choose Slide and Fold Solutions for Your Business Needs?
-
2026 How to Choose the Right Roll Up Security Doors for Your Business?