
- High-Performance Doors
-
- Applications
-
-
-
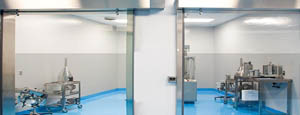
- Clean Room
Stainless steel or composite materials help maintain clean rooms.
-
-
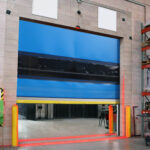
- Coolers
Quick opening speeds & tight seals for temperature control.
-
-
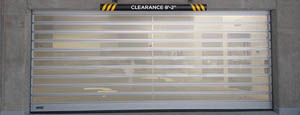
- Parking
Improve security & traffic flow and enhance architectural style.
-
-
- Hurricane Zone
Withstand winds up to 175 mph and comply with the Florida Building Code.
-
-
-
-
- USDA / FDA / cGMP
Increase productivity & address stringent USDA, FDA & cGMP requirements.
-
-
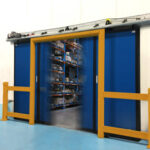
- Freezers
High-speed & perimeter seals minimize the air exchange between areas.
-
-
- Security
High speed & durability ensure secure access.
-
-
- Ventilation
Perforated or screen door panels allow improved air circulation.
-
-
-
-
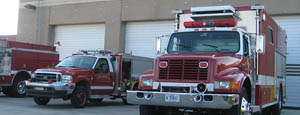
- Fire Station Emergency Response
When time is of the essence, high speed and reliability are crucial.
-
-
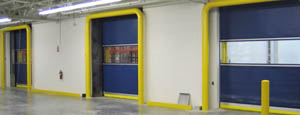
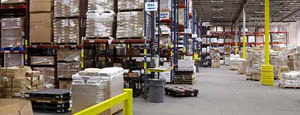
- Warehousing
Fast cycle times and secure seals keep environments separated.
-
-
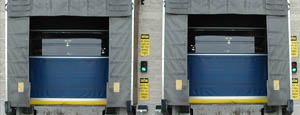
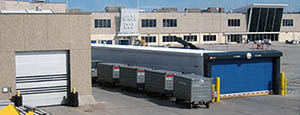
- Loading Dock
Rugged design & secure seal for oversized openings.
-
-
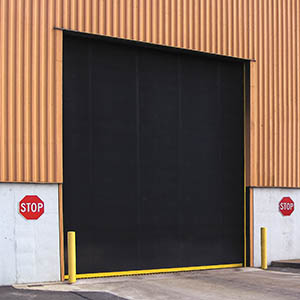
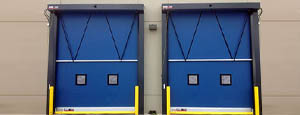
- Large Openings
Break-away functionality with rugged design seals oversized openings.
-
-
-
-
- Heavy Equipment
Withstands challenges of heavy equipment and fleet truck/car wash environments.
-
-
- Self-Storage
Fast opening speeds and reliable, durable construction keep facilities secure and protected.
-
-
- Industries
-
-
-
- Automotive Dealerships
Reduce energy costs, increase productivity and comfort and enhance customer perception.
-
-
- Cold Storage & Processing
Increase productivity and operational efficiency while reducing energy and maintenance costs.
-
-
- Parking
We offer solutions for Apartment / Condo & Loft, Standalone Parking Facilities and Office Buildings
-
-
-
-
- Food & Beverage
Doors specifically engineered for USDA/FDA and cGMP environments, and assured compliance for uncompromising performance.
-
-
- Mfg/Dist/Warehousing
A complete product line allows facilities to increase efficiency and safety and reduce maintenance and energy costs.
-
-
- Government
Ensure effective security and environmental controls are maintained for critical government operations.
-
-
-
-
- Transit
Keep operations running smoothly and efficient while reducing energy and maintenance costs.
-
-
- Pharma, Nutraceutical & Biotech
Doors that offer quick, secure access, environmental control and reliability for life science facilities.
-
-
- Support Resources
- Parts
- Contact Us
- Blog/News
- Why Rytec
- Sales Rep Locator
- Careers
- Dealers
- Architectural Resources














What Are DTF Transfer Sheets and How Do They Work?
Dtf Transfer Sheets are printable films used to move detailed artwork onto fabric. They work with a direct-to-film printing process. A printer applies specialized ink to a coated sheet. Adhesive powder is then added to the wet print. Heat cures the adhesive and prepares the design for pressing.
The finished transfer feels like a thin, flexible layer. It can be pressed onto cotton, polyester, blends, and many finished garments. A heat press supplies controlled temperature, pressure, and time. These settings matter. Too little heat may cause weak adhesion. Excessive heat can damage fabric or distort fine details. Always check the transfer supplier’s instructions before production.
In hands-on testing, clean artwork and careful powder coverage make a visible difference. Small text needs enough thickness to remain readable after pressing. A lint-free surface also helps prevent unwanted marks. Dtf Transfer Sheets are popular because they support vivid colors, sharp edges, and small-batch customization without cutting individual letters. They are practical, but not flawless. Dark fabrics, textured materials, and repeated washing can produce different results. I have found that a test press is worth the extra few minutes. It exposes problems early. This guide explains the sheet structure, printing stages, curing process, and application methods. It also considers durability, storage, fabric compatibility, and common production mistakes. Reliable results come from measured settings, reputable materials, and realistic testing. Surface preparation matters.
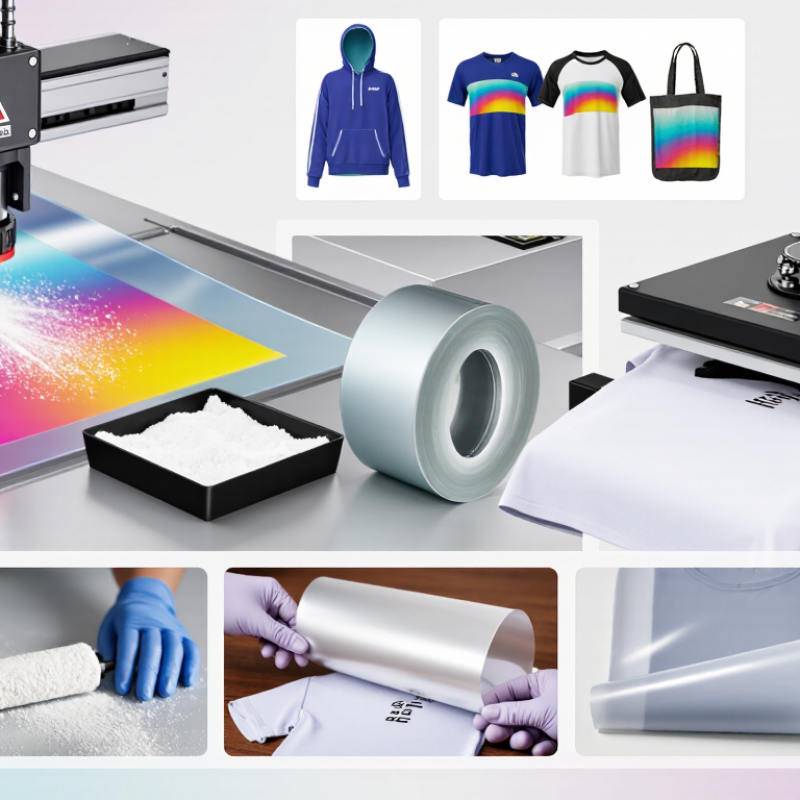
Table of Contents [Hide]
DTF Transfer Sheets Defined: 75–100 μm PET Film and Release Coatings
DTF transfer sheets are clear PET films used to carry printed designs onto textiles. Most practical sheets measure 75–100 μm thick. That range balances flexibility, dimensional stability, and handling strength. Thinner film can curl or wrinkle during printing. Thicker film may feel less flexible during pressing.
The release coating is equally important. It controls how easily the cured adhesive separates from the film. A well-made coating supports clean powder adhesion and smooth transfer release. During production, operators should check coating consistency across the entire sheet. Uneven release can leave dull patches, missing edges, or scattered fibers. Small details matter.
The workflow is straightforward but not effortless. The printer places ink on the coated PET surface, usually in reverse order. White ink forms the base layer behind the colored image. Hot-melt adhesive powder then covers the wet ink. Heat melts the powder into a continuous adhesive layer. After curing, the sheet is pressed onto fabric with controlled temperature, pressure, and dwell time.
I have found that film thickness alone does not predict performance. Humidity, ink volume, powder coverage, and curing conditions also change results. A 100 μm sheet may feel stable, yet release poorly after excessive heating. A 75 μm sheet may transfer cleanly when stored and handled carefully. The process is reliable, but not automatic. Test swatches remain necessary.